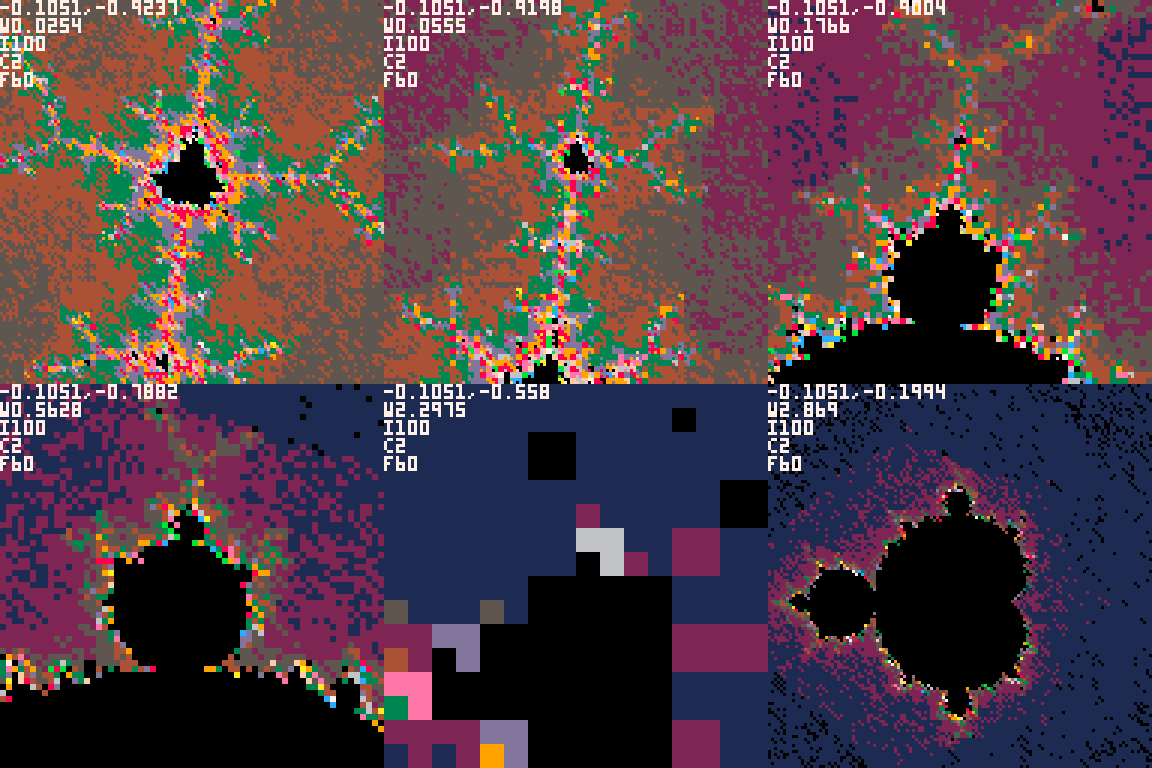
Here’s a link to immediately play the game/simulator/explorer described in this post and here’s the source code in case you’re interested in exploring that.
Controls are standard keys/buttons for Pico-8:
- up/down/left/right arrows to move around
- if on the computer, “Z” and “X” keys to zoom in/out
- if on mobile, “O” and “X” buttons to zoom in/out
- Hidden (and confusing) settings adjustment mode can be chosen from the menu (accessible by the “-” shaped start button on mobile or “enter” key on the computer) under the “settings” option, in which case up/down/left/right turn into adjusting the cutoff and iteration count respectively. Choose “navigate” from the menu to go back to navigation.
I wanted to learn more about fractal geometry and complex numbers, mainly in hopes of being able to use them in simulated game universes, so I figured a fun first pass would be building a mandelbrot generator in my favorite game framework, Pico-8.
There’s a lot of reasons why this is a bad idea:
- It’s slow, in fact, the lua expressions are intentionally slowed down so it runs at the same speed on every platform.
- It does not give any direct GPU access, all written expressions get executed through the lua interpreter.
- All numbers are represented by 32 bits, 16 bits for whole numbers and 16 bits for fractional numbers, eg
0x0000.0000to0xffff.ffffwhich means you can only zoom in somewhere around 1000x before the math breaks down from being unable to divide the region the camera covers into pixel-sized units for computation. - Using arrow keys and Z/X for exploring an equation isn’t very intuitive.
However, it does let me slap it on a static page and rapidly iterate without having to learn a single new tool or library, so for that reason I’m a huge fan of it for doing prototyping and exploration.
The Responsive Tortoise
Not having access to the GPU (not to mention having every expression be artificially slowed down) means we’re not going to be able to calculate every of the 128×128 pixels while doing 60 frames per second. What we can do though is calculate and draw some of the pixels each frame, and then after a number of frames the picture will be complete.
The naive way to approach this would be start at the top left and work our way across each row, and that would be fine except you wouldn’t have a clue of what you’re looking at until it’s calculated around half of the pixels so you can see around half of the screen. That’s a problem when you want to navigate around quickly and keep restarting the draw process every time you move.
Instead, what I did was start with an extremely low resolution render (8×8 pixels) which meant only 64 coordinates to calculate – a lot by hand but doable in 1/60 of a second by a computer, even with something as slow as Pico-8. At that point, after the first frame, you have some hint at what the final image might be. From there it continues to increase the resolution until it fills it all out at the native 128×128, which takes many frames but usually only about 5-10 seconds which isn’t very long to wait.
The trick was how to gradually keep increasing the resolution without wasting work in the process? Basically, I use the top left corner of each oversized pixel to determine what color the whole region that oversized pixel covers, and then I redraw over the other parts of the oversized pixel with progressively smaller pixels until every 128×128 spot on the screen has had exactly one calculation done for its coordinate. This is difficult to explain, but if you watch the animation or play the game and keep an eye on the top left corner of each mega-pixel as it enhances the image you’ll see the color never gets replaced.
Breaking the 0x0000.0001 Barrier
I thought this would be an interesting opportunity to try to build my bit-management math skills and see if I can view things at a smaller scale than the above described version could. The only way this is possible in Pico-8 is by representing a number with a list of numbers, eg, to represent 64 bits of data in a world made of only 32 bit numbers you can simply use two 32 bit numbers and split the data between them.
This took some doing to figure out, but I ended up with a polynomial kind of representation, like the first number is just multiplied by 1, the second number is multiplied by 0.5^32, the third number is multiplied by 0.5^64, so if your numbers were 3, 4, 5 then your represented number would be 3*1 + 4*0.5^32 + 5*0.5^64. We of course can’t actually multiply this out in the program since the result would be too small, but we don’t need to, we can just keep representing it in parts as we do the math with normal old polynomial addition (add all similar multipliers together) and multiplication (multiply all multipliers of each side against all multipliers of the other side) rules.
Turns out this works quite nicely with the whole complex number thing, because complex numbers are multi-part too, eg, 5+6i. So the rational and complex component of that complex number end up having a list of sub-numbers to represent arbitrary precision.
And to avoid leaving anything out, my examples here talk about 32 bits but there’s actually only 31 since 1 bit is for positive/negative and screws everything up if you try to use it when leveraging the native addition and multiplication. My code worked around that but it’s too nitty-gritty to get into here, so I’m just going to gloss over that part.
Dealing with Overflows
Unfortunately, we still have to deal with overflows. If you multiply 0x0.001 by 0x0.001 then you get 0x0.000001 but we can only represent numbers as small as 0x0.0001 so the result we’d get back would be 0x0000 with no hints at what kind of overflow we had. If we knew the overflow, then we could carry it over, shift it way to the left (so the bit was at the most significant, not least significant, spot), and add it to the number representing the next level of bits.
After a lot of brainstorming I figured out how to do this though. In the above example, for multiplication, to figure out what the carry is that we want to send to the “right” (ie, to the number representing the next least significant set of bits) it’s a multistep process:
- Shift both numbers 8 bits to the left (
0x0.001becomes0x0.1) - Multiply them together (
0x0.1squared becomes0x0.01) - Shift the result 16 bits to the left (
0x0.01becomes0x100.0) - Add that to the next lower bit range (so it’s now
0x0.0 + 0x100.0 * 0.5^32)
A similar process is done but opposite to calculate what value is carried left to the next more significant bit range.
Impact on Speed
As you might imagine, converting the relevant variables to this complex polynomial representation induces an explosion of extra calculations and had a DRASTIC impact on speed and made running the same high-level calculations as before basically impossibly slow. I spent a bit of time trying to limit various things to try to get the speed to be vaguely bearable but it was still way too slow to be able to reasonably navigate anywhere.
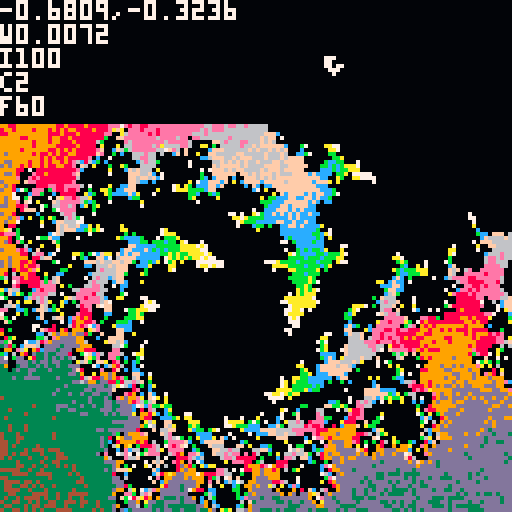
I did my best on the math but taking a look at a known coordinate suggested that while it was indeed mostly working, there were still a few glitches to work out… It seemed like something around my representation of positive/negative wasn’t quite right. I am tempted to keep working on it, but due to the speed the utility is essentially nilch so I think I’ll abandon the project here and move on to greener pastures.
If you’re curious about the complex number library I made (although I recommend you not try to use it) you can find the code in a separate branch (infinite_zoom) here and if you want to try this super slow, glitchy monstrosity you can play it with this link.


